 Areca Docs
Quickstart
Go from an empty Areca install to your first live publish, with a website that reads its content from the CMS.
This guide takes you from an empty installation to a first live publish. You start the CMS with Docker, create an admin and a client, connect a website with the site SDK, write one entry, and go live. Plan for about 30 minutes.
You need Docker with Compose v2, Node.js 22.6 or newer for the website project (Node 24 LTS is recommended), and a terminal. For the full Docker options, see the Docker quickstart.
Want to build the website too?
The Guides walk you through a complete website for a fictional bakery, one step at a time. This quickstart is the short version.
Start the CMS and create the first admin
Run the local demo stack. It starts the CMS, PostgreSQL, Redis, S3-compatible storage and an email inbox.
cd docker
cp .env.example .env
Open .env and replace the example secrets. Generate them with:
openssl rand -hex 32     # BETTER_AUTH_SECRET
openssl rand -base64 32  # DOKPLOY_CREDENTIALS_ENCRYPTION_KEY
Then start the stack:
docker compose up -d --waitOpen http://localhost:3000/setup. Enter the setup token. If you did not set SETUP_TOKEN in .env, read the generated token from the log with docker compose logs cms. Then enter your name, email and a password of at least 8 characters, and select Create admin account.
The first admin must turn on two-factor authentication. Scan the QR code with an authenticator app, enter a code to confirm, and store the recovery codes somewhere safe. The CMS then opens the Agency workspace.
Keep the encryption key
Back up DOKPLOY_CREDENTIALS_ENCRYPTION_KEY with the database. Saved credentials cannot be decrypted without it, even if you do not use Dokploy.
Create a client and a site
A client is the organisation you build for. A site belongs to a client and holds its content.
In the Agency workspace, select New client, enter a name such as Acme, and select Create client. Check the suggested slug before you save it: it cannot be changed later.
On the client page, open the Sites tab and select New site. Enter a Site name such as Acme Website, keep the suggested Site key (for example acme-website), and set the Production URL. For local work, http://localhost:3001 is the default. Select Create site.
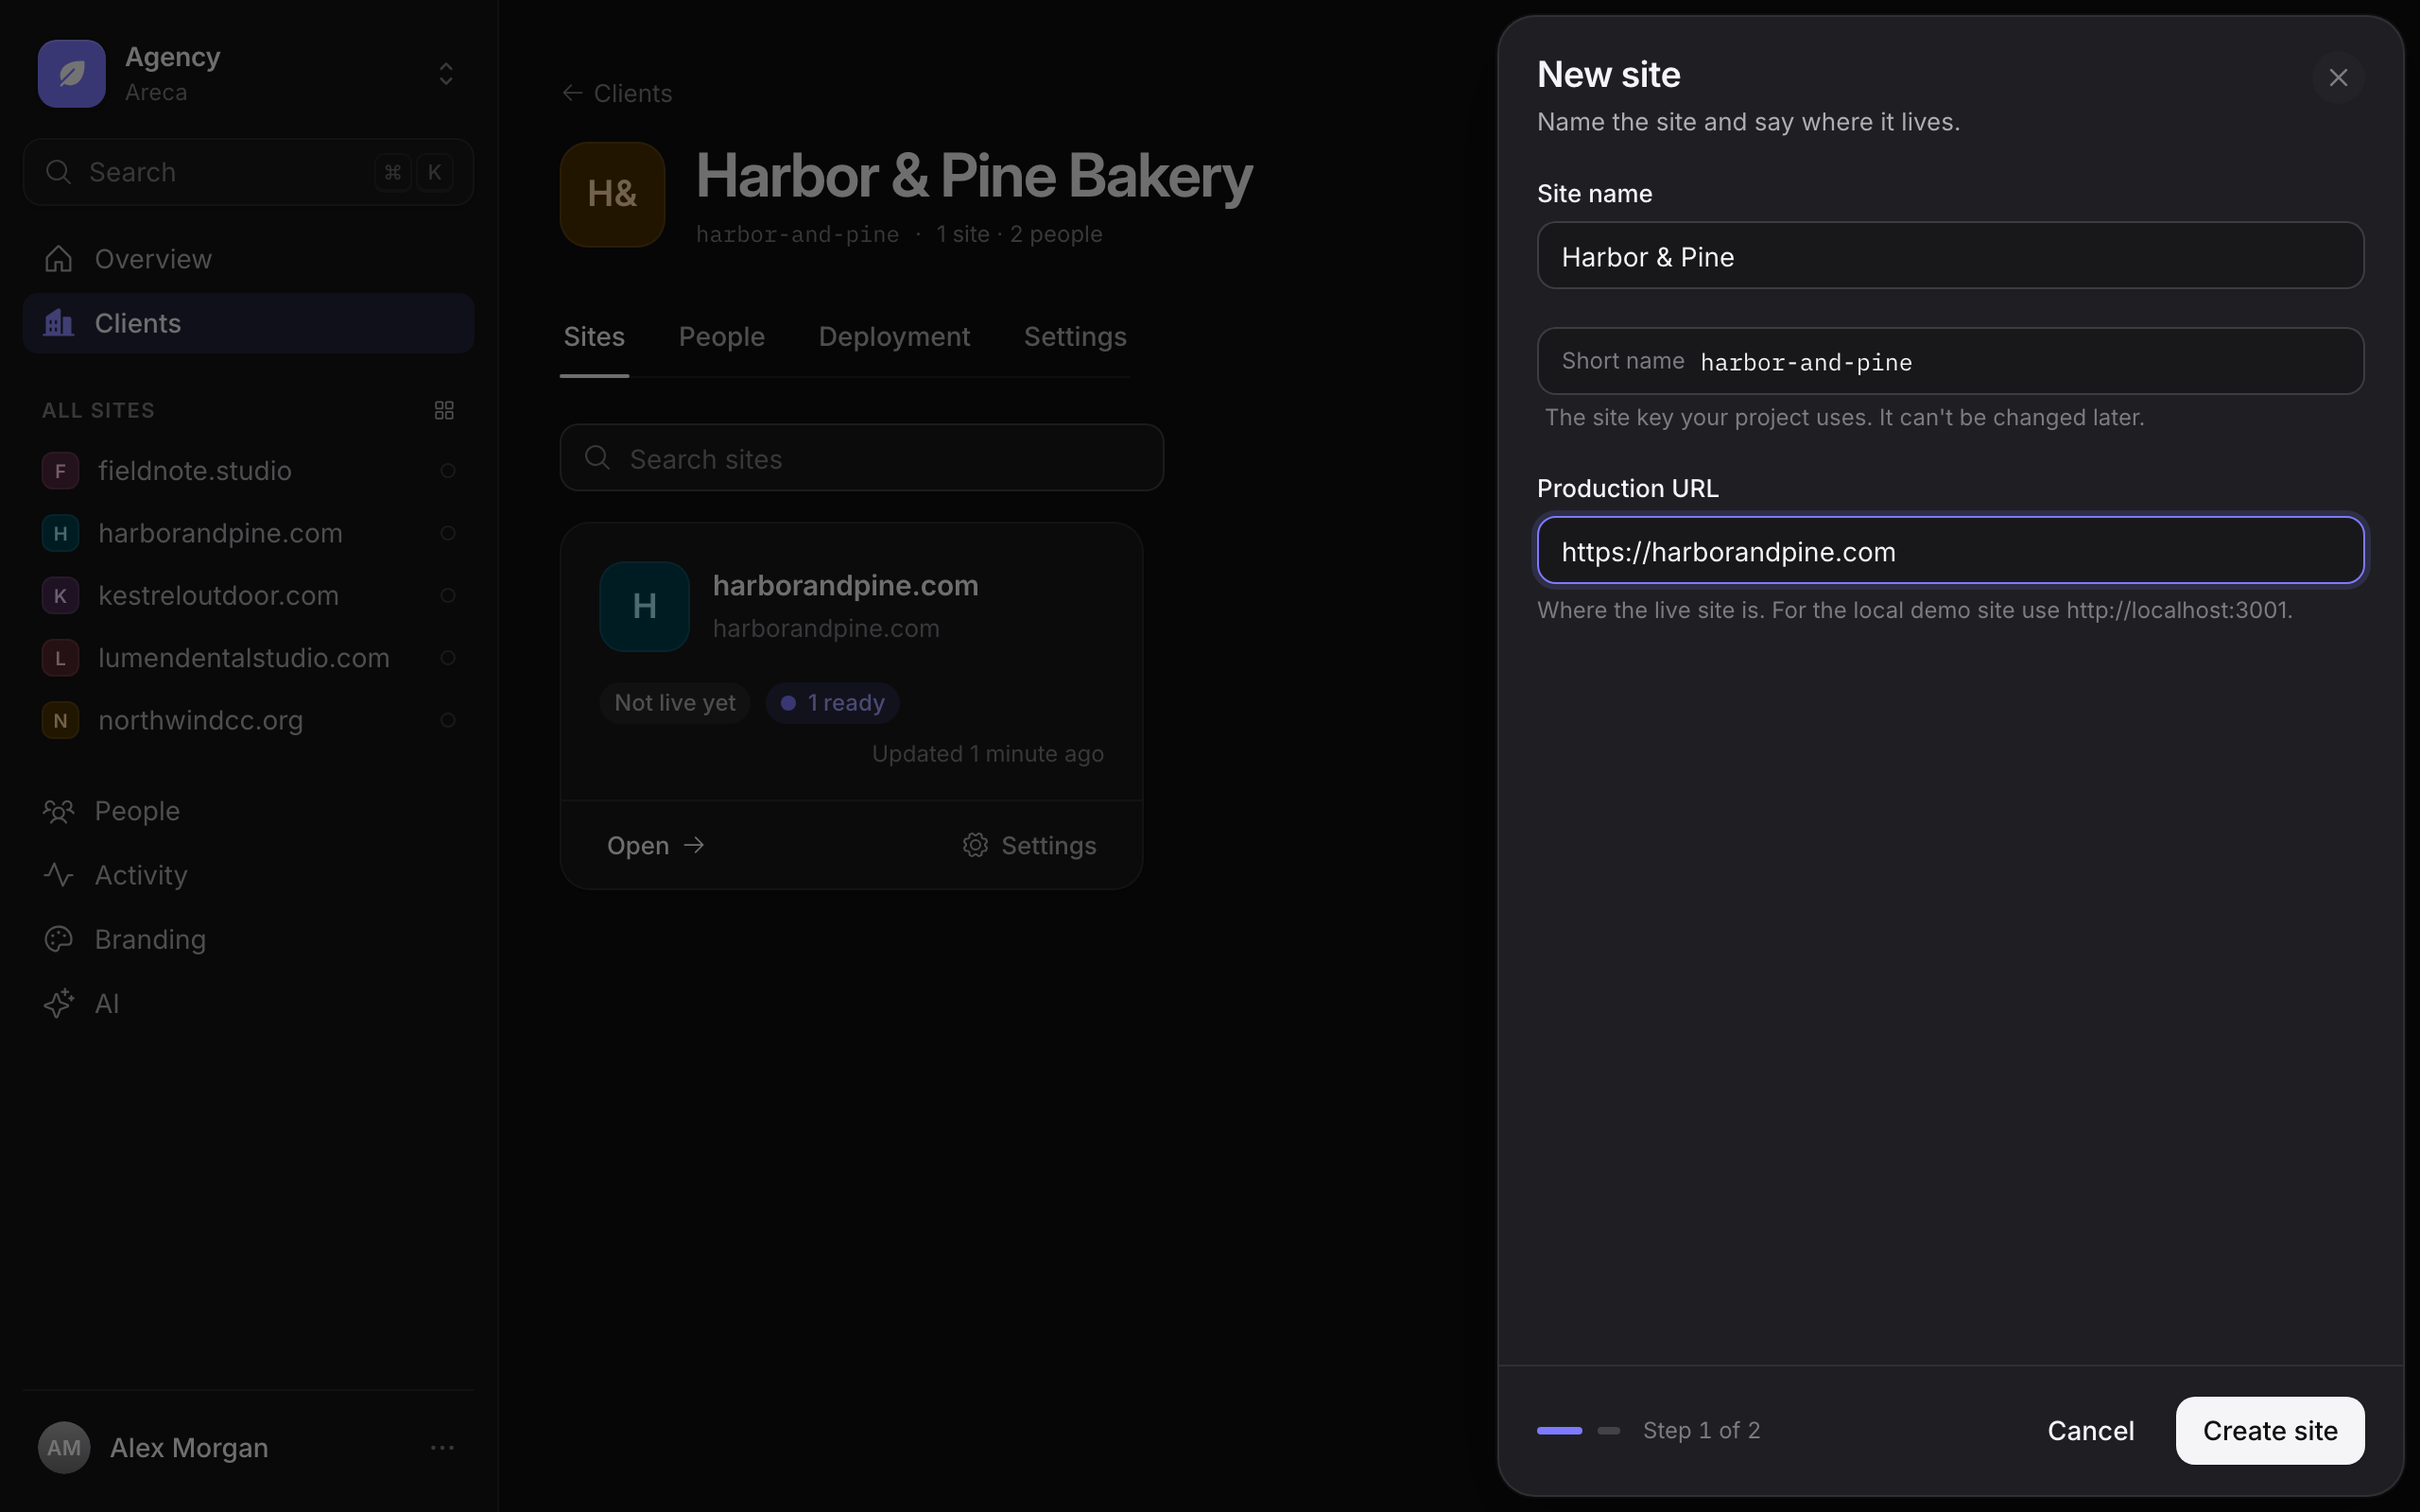
The next screen shows the site token. It is shown only once.
Save the token now
Select Copy token or Copy snippet and store it before you select I've saved it. The CMS keeps only a hash of the token, so you cannot view it again later. If you lose it, rotate it from Settings › Developer and update your website.
Connect the website and push the schema
These commands run in your website project, not in the CMS repository. If you do not have a website yet, create a small TanStack Start or Node.js project first.
pnpm add @areca-cms/site-sdk
pnpm exec areca init
areca init asks for the CMS URL (http://localhost:3000), the site token and the site key. It creates areca.config.ts, a .env.example, a gitignored .env.local, and an empty src/generated/content folder.
Prefer an agent?
An AI coding agent can do this setup for you. See Quickstart with an AI agent.
Declare the content your website needs in areca.config.ts. This example defines one collection called articles:
import { defineSiteContent } from '@areca-cms/site-sdk'

export default defineSiteContent({
  siteKey: 'acme-website',
  collections: {
    articles: {
      route: '/blog/$slug',
      label: 'Articles',
      fields: [
        { key: 'title', label: 'Title', type: 'text', required: true },
        { key: 'body', label: 'Body', type: 'richtext' },
      ],
    },
  },
})
Pushing the schema needs a separate schema-write token. In the CMS, open the site, go to Settings › Developer, and select Rotate schema token under Schema-write token. Copy the token and add it to .env.local, next to the values that areca init wrote:
ARECA_SCHEMA_TOKEN=<your-schema-token>Push the content model to the CMS:
pnpm exec areca manifest pushBack in the CMS, Settings › Content now lists Articles, and Settings › Developer reports one content type synced from the site project. The website build uses only the site token. Keep the schema token out of builds and public code.
Write an entry and mark it ready
Open the site's Articles collection and select New article. Enter a title such as Welcome to Acme, which fills in the slug, and add some text to Body. The editor saves as you type. Select Save to save immediately.
Saving does not publish anything. To include the entry in the next release, select Mark as ready. The entry now shows the Ready status.
If you are not an owner of the client, the publish controls are disabled and explain why. An owner or agency admin must mark the entry ready.
Go live
Going live creates a release: a frozen copy of every ready change on the site. Choose a mode in Settings › Deployment first.
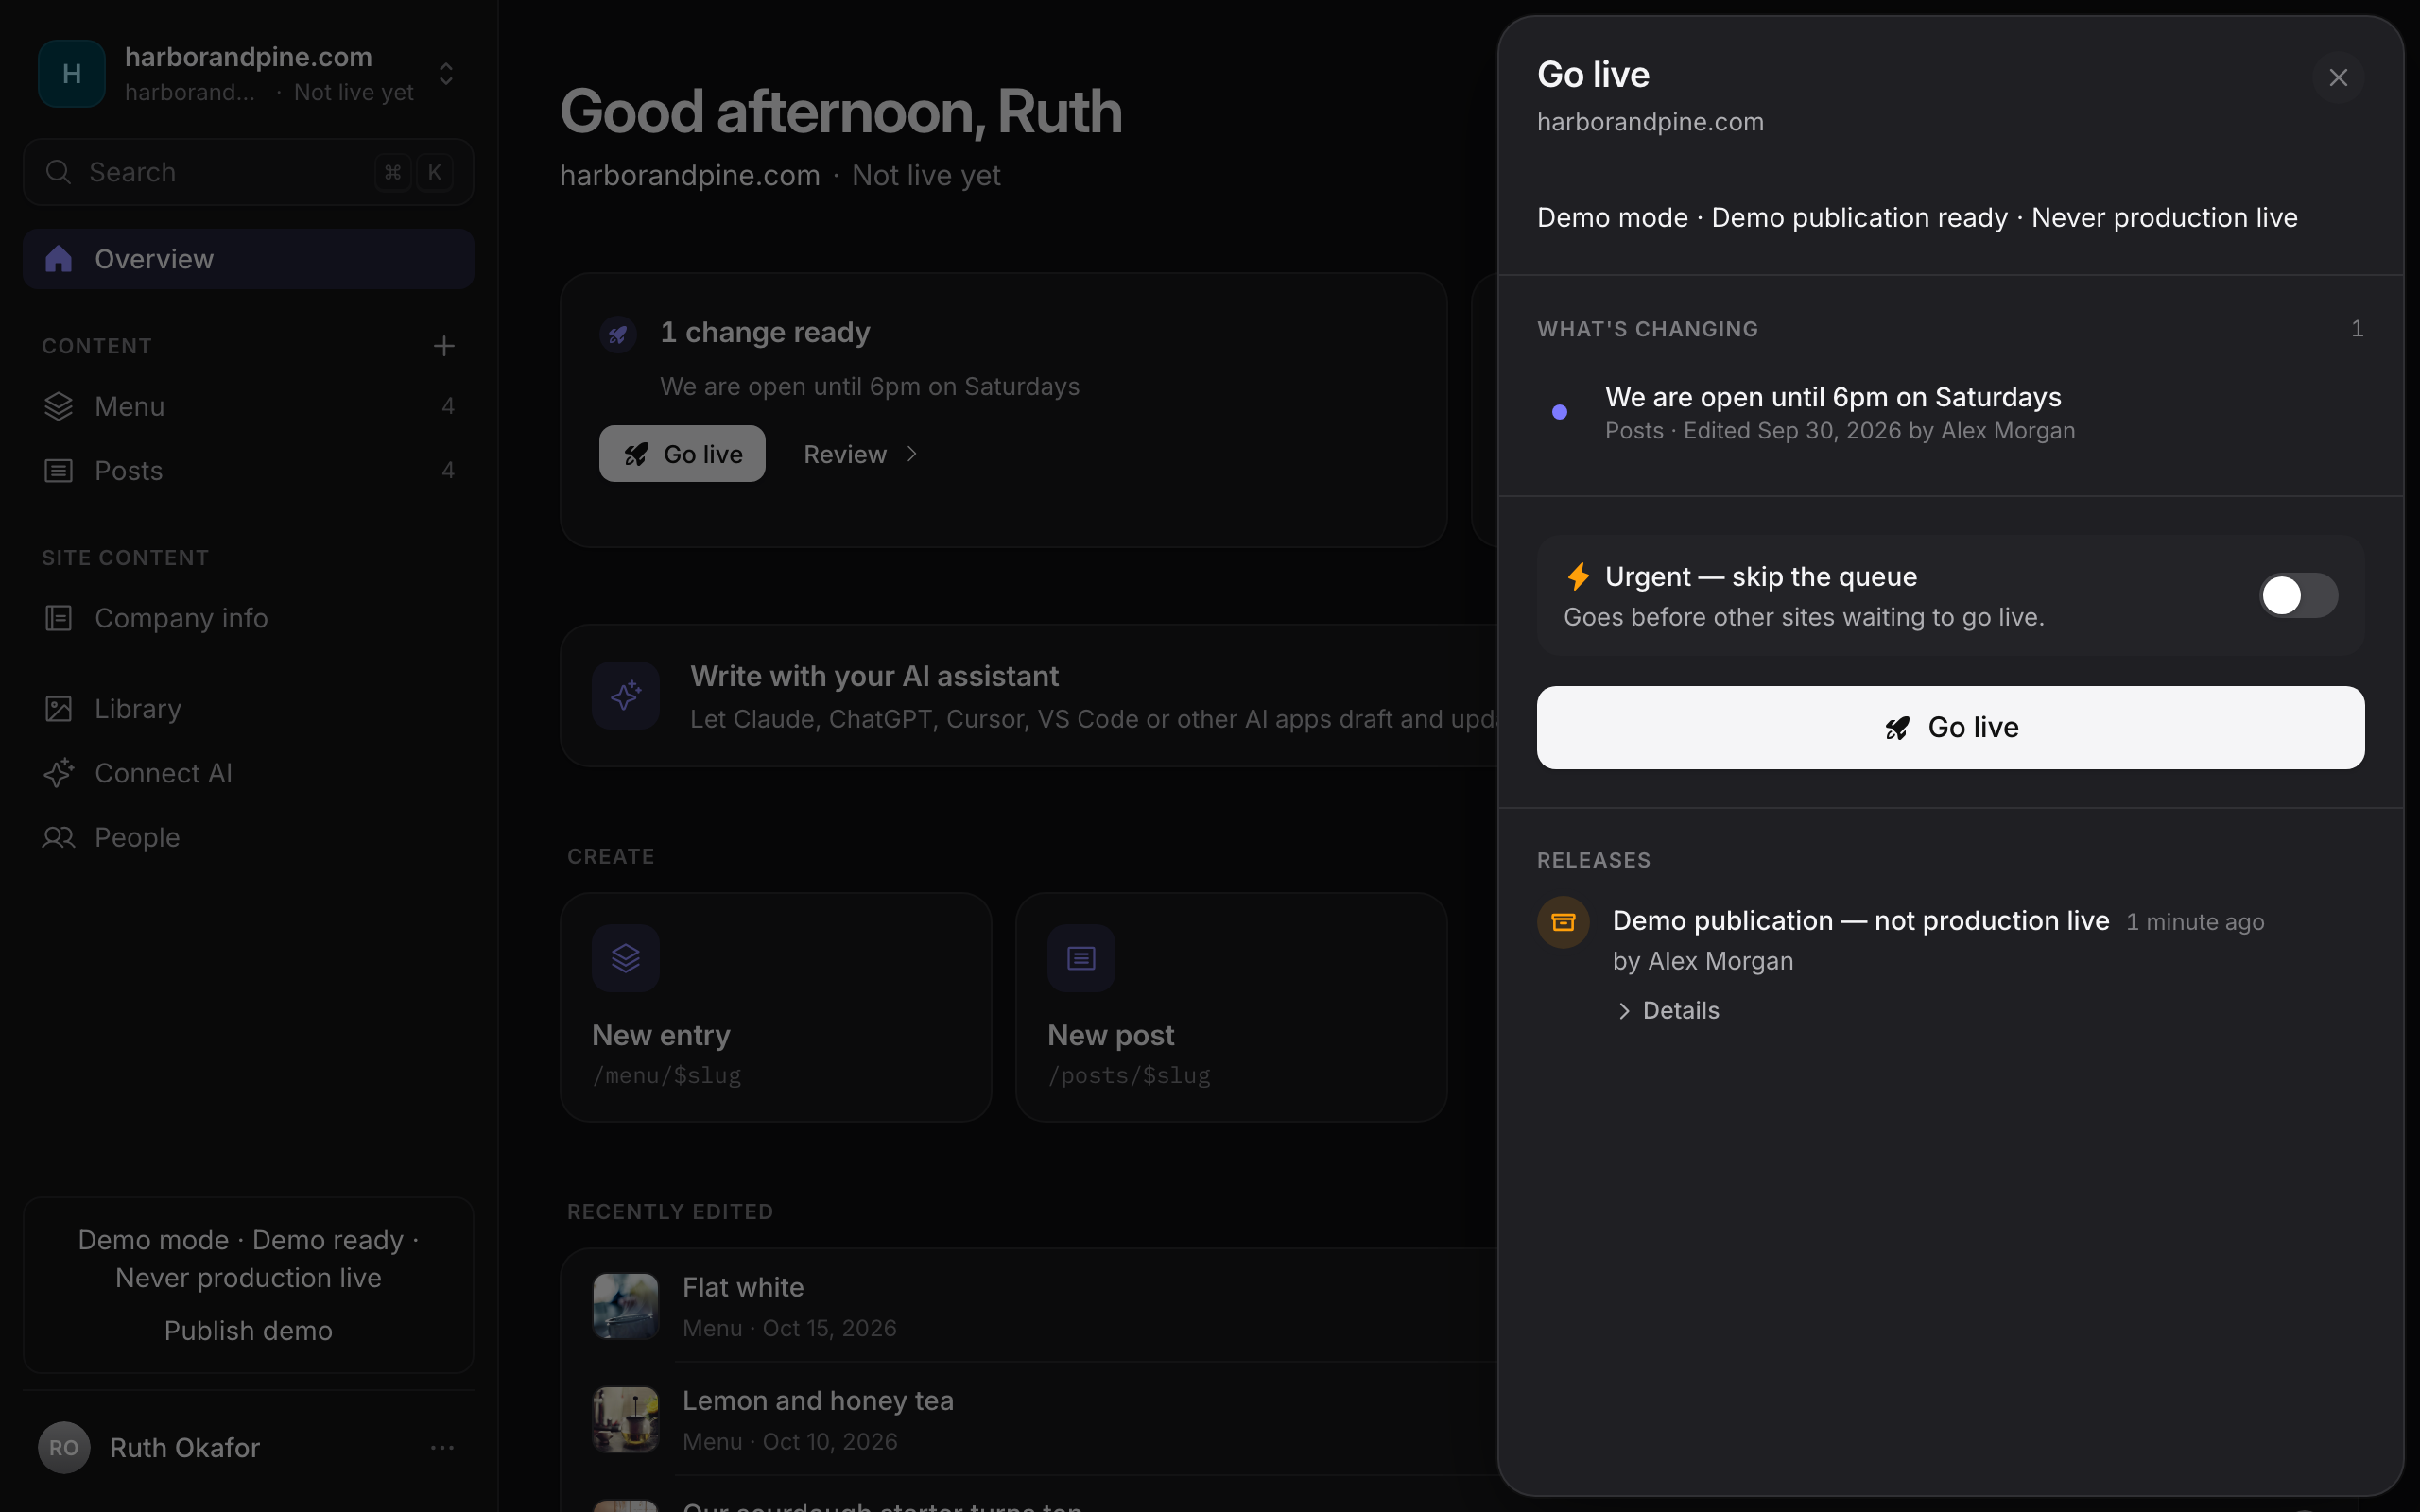
Set Mode to Demo — no production deployment and save. Demo releases skip deployment and never count as production live, so they work without a server. Then:
- Open the Go-live panel from the sidebar and select Go live.
- Wait until the release shows as complete and labelled Demo.
- Pull the content into your website project:
pnpm exec areca pull
pnpm dev
Your website now renders the article from the snapshot pulled from the CMS.
What you have now
- A running CMS with one admin, one client and one site.
- A website that pulls its content from the CMS at build time.
- One entry that has been through draft, ready and a successful release.
Next steps
- How Areca works explains entries, releases and the go-live pipeline.
- Defining content covers all field types and collection options.
- Writing entries and Going live cover the editor workflow in detail.
- Troubleshooting lists the most common problems by symptom.